

ONU/Router UPS - DIY Project/Gadget
Parts
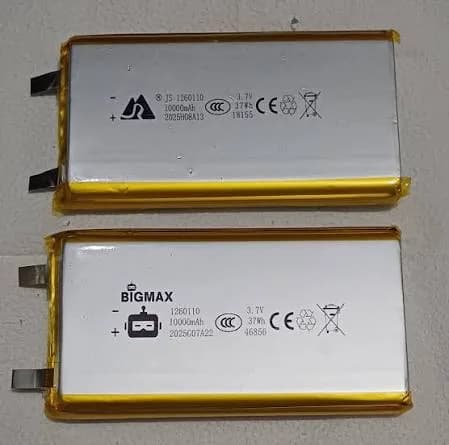 ৳473
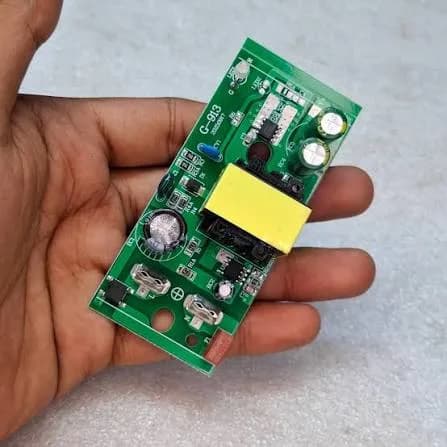 ৳210
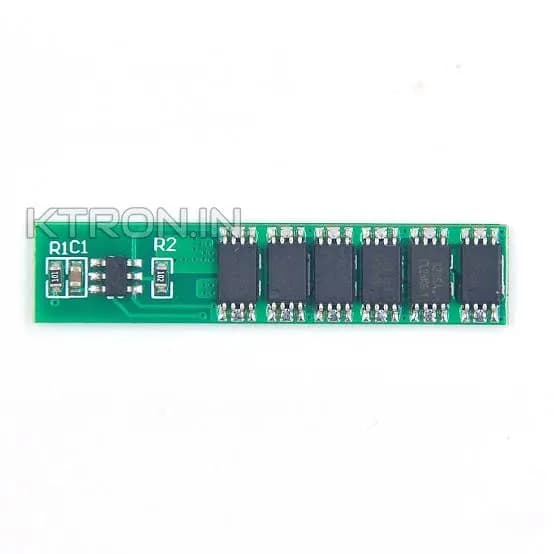 ৳63
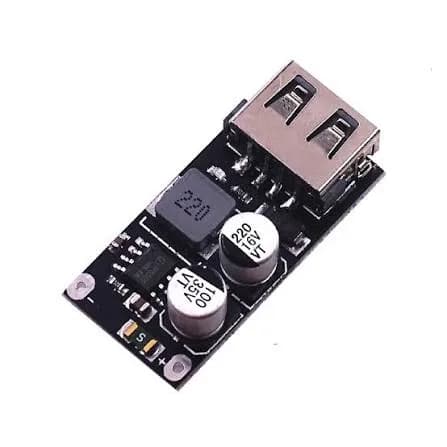 ৳105
Battery Charging Module
Battery Charging Module 6-30V buck converter to 5VCircuitBazar BD · In stock
1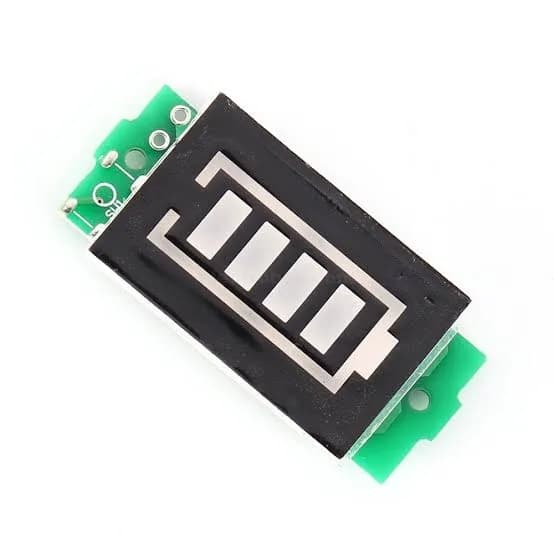 ৳105
 ৳42
 ৳400
 ৳66
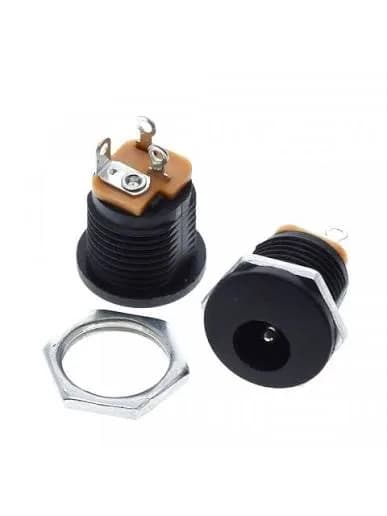 ৳44
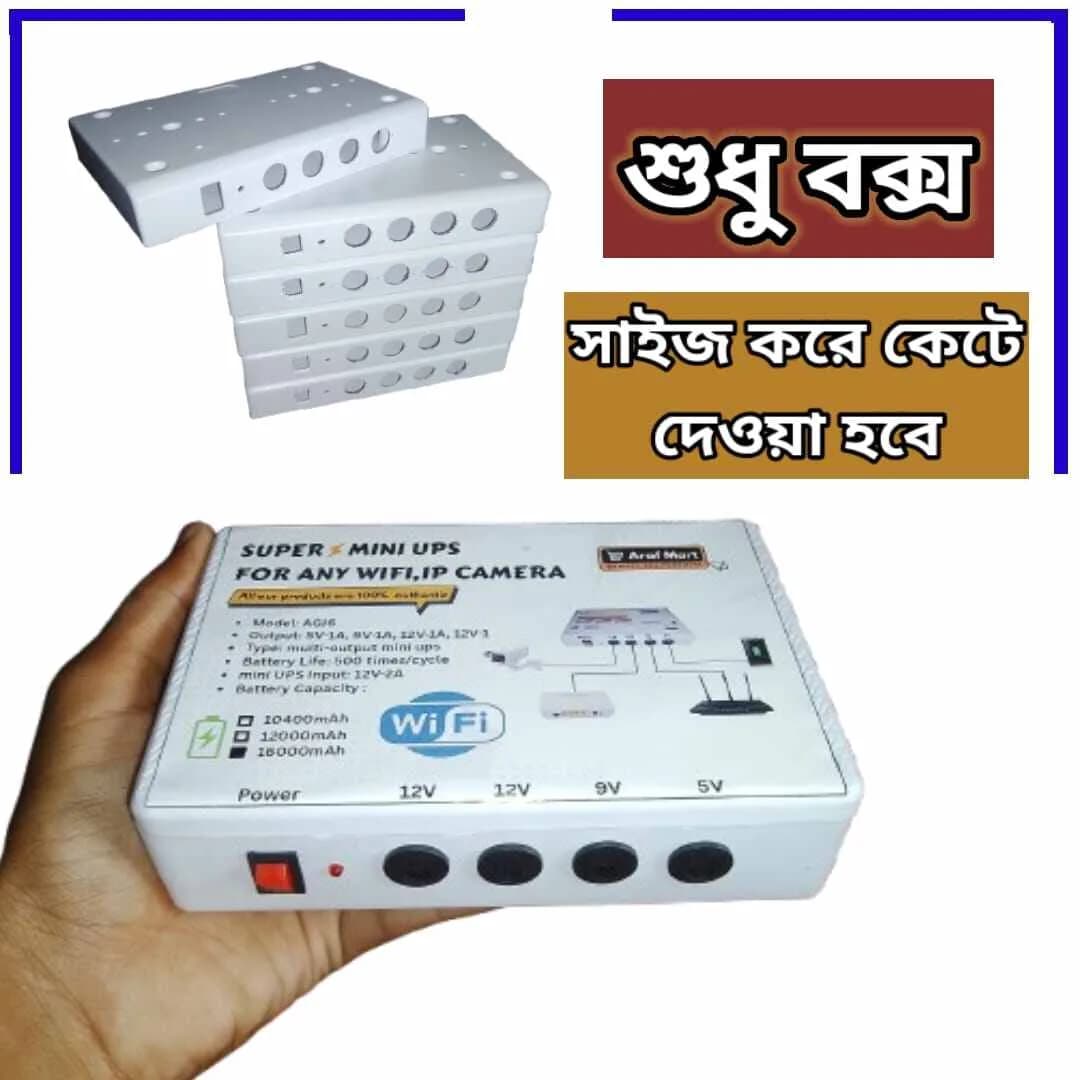 ৳105
Your kit — price breakdown
| # | Part | Seller | Unit price | Qty | Line total |
|---|---|---|---|---|---|
| 1 | BatteryBigmax 3.7v 10000mah Lithium Polymer Battery | CircuitBazar BD | ৳473 | 1 | ৳473 |
| 2 | Battery ChargerCharger Circuit 12.6V 3A | CircuitBazar BD | ৳210 | 1 | ৳210 |
| 3 | BMSBattery Management System | CircuitBazar BD | ৳63 | 1 | ৳63 |
| 4 | Battery Charging ModuleBattery Charging Module 6-30V buck converter to 5V | CircuitBazar BD | ৳105 | 1 | ৳105 |
| 5 | Battery Level IndicatorBattery Level Indicator 0-100% | CircuitBazar BD | ৳105 | 1 | ৳105 |
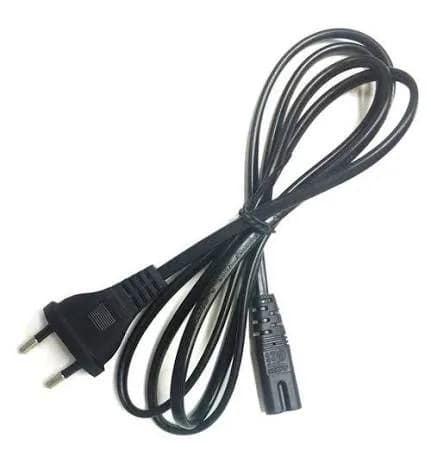
| 6 | Ac CordAc Cord 200cm | Gadget Corner | ৳42 | 1 | ৳42 |
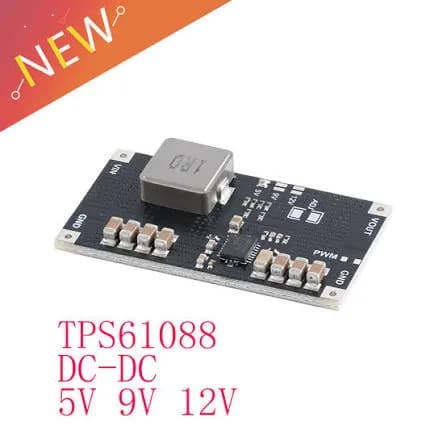
| 7 | Booster ModuleBooster Module 3v in to 30v out adjustable | CircuitBazar BD | ৳200 | 2 | ৳400 |
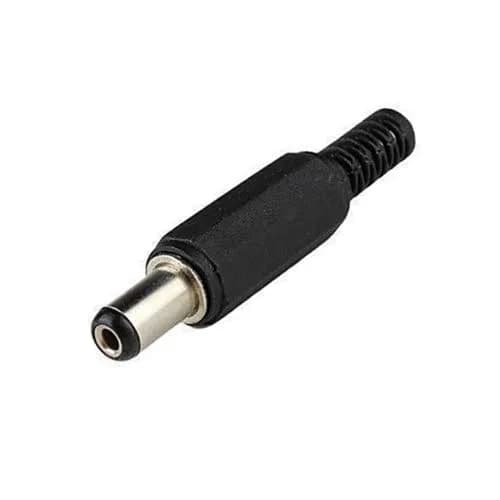
| 8 | JackMale DC Jack 5.5mm x 2.1mm | CircuitBazar BD | ৳11 | 6 | ৳66 |
| 9 | JackFemale DC Jack 5.5mm x 2.1mm | CircuitBazar BD | ৳11 | 4 | ৳44 |
| 10 | CaseCase for the DIY Project/Gadget Kit | Gadget Corner | ৳105 | 1 | ৳105 |
- Parts subtotal (one kit)
- ৳1,613
- × Kits
- 1
- Items total
- ৳1,613
- Delivery
- 2 parcels from 2 sellers — charged at checkout
- Reward
- ৳100 coupon after delivery (not taken off this price)
- You pay now
- ৳1,613
Prices are live and checked again at checkout.
Overview
A small backup box that keeps a home ONU or router powered through a short outage. You order every part, then solder and wire the kit yourself.
- Keeps an ONU or Wi-Fi router on through a short power cut
- 10000mAh 3.7V lithium polymer cell with a 1S protection board
- 5V output from a buck converter for the usual router barrel jack
- A second, adjustable booster output for a higher-voltage device
- Charge circuit and a 0–100% battery level indicator
- Project case with male and female DC jacks
Tools needed
- Soldering iron
- Multimeter
- Glue gun
- Screwdriver
Build guide
- 1
Lay the parts out
Check the cell, the 1S BMS, both converter boards, the jacks and the case against the list. The cell is 3.7V. The BMS photo is a 1S (3.7V) board.
- 2
Pair the cell with the BMS
Solder the cell to the BMS battery pads, red to B+ and black to B−. Do not short the tabs. The kit lists a 12.6V (3S) charger next to this 3.7V cell. Confirm that charger before you connect it. The parts are seeded as listed.
- 3
Fit the charger and the level indicator
Wire the charger circuit to the BMS charge pads and the 0–100% indicator across the cell so you can see the charge while you test.
- 4
Set the 5V output
Feed the cell into the 6–30V buck converter and adjust it to 5V with a multimeter before you plug in the ONU. This is the output most routers expect.
- 5
Set the booster
The kit includes two adjustable boosters (3V in, up to 30V out). Set each one to the voltage printed on the device you will power, and recheck with the meter.
- 6
Jacks, cord and case
Solder the male and female 5.5×2.1mm jacks, add the 200cm AC cord on the mains side of the charger, and glue the boards into the case so nothing can touch.
- 7
Test before you close it
Power the box from the AC cord, watch the level indicator, then run the ONU from the 5V jack for a few minutes. Unplug the mains and confirm the router stays up.
Reviews
Loading reviews…
Q&A
Loading questions…
 Reward 3%